What’s the Purpose of That Tiny Hole in a Safety Pin?
So THAT’S what that tiny hole in a safety pin is for, why didn’t I know this sooner?!
Sewing has quietly evolved over hundreds of years, beginning with simple hand needles and coarse thread and growing into the advanced machines and tools we rely on today. Yet along that long journey, countless practical techniques were developed by necessity, passed from one generation to the next, and eventually forgotten as technology took center stage. Many of those old methods were not just charming traditions. They were incredibly efficient solutions to everyday problems that modern sewists still face.
Imagine discovering a simple habit that makes your stitches stronger, your thread smoother, and your sewing experience noticeably faster. No complicated equipment, no expensive accessories, just a small shift in how you prepare before you begin. That is the beauty of the techniques being rediscovered today.
One of the most powerful of these methods is the use of beeswax.
Before threading your needle, gently pull the thread across a block of beeswax. This coats the fibers with a light protective layer that reduces friction, prevents tangling, and keeps the thread from fraying. As you stitch, the thread glides through fabric more easily and holds together more firmly. The result is cleaner seams, fewer knots, and far less frustration. It is a tiny step that delivers an enormous payoff in quality and speed.
But beeswax is only the beginning.
Here are several old school sewing tips that deserve a permanent place in every sewing routine.
Use Dry Soap to Mark Fabric
When tailor’s chalk or specialty marking pens are nowhere to be found, reach for a simple bar of dry soap. It creates clear visible lines on most fabrics and disappears completely after washing. It does not bleed, stain, or leave residue. It is practical, reliable, and incredibly cost effective.
Reinforce Seams with Backstitching
Strong seams start and end with care. By stitching backward over the final section of your seam before cutting the thread, you lock everything into place. This prevents unraveling and extends the life of garments, bags, quilts, and anything else you create. It is a small detail that makes a lasting difference.
Pin Diagonally for Better Control
Placing pins at an angle rather than straight across the seam helps grip the fabric more securely. This reduces shifting while you sew and makes removing the pins easier as you go. Your stitches stay straighter and your fabric stays aligned, especially on slippery or layered materials.
Create Strong Knots with Ease
For a neat and secure knot, wrap the thread around the needle several times before pulling it through. This forms a compact knot that holds tight through wear and washing. It gives your project a professional finish without the hassle of bulky or uneven knots.
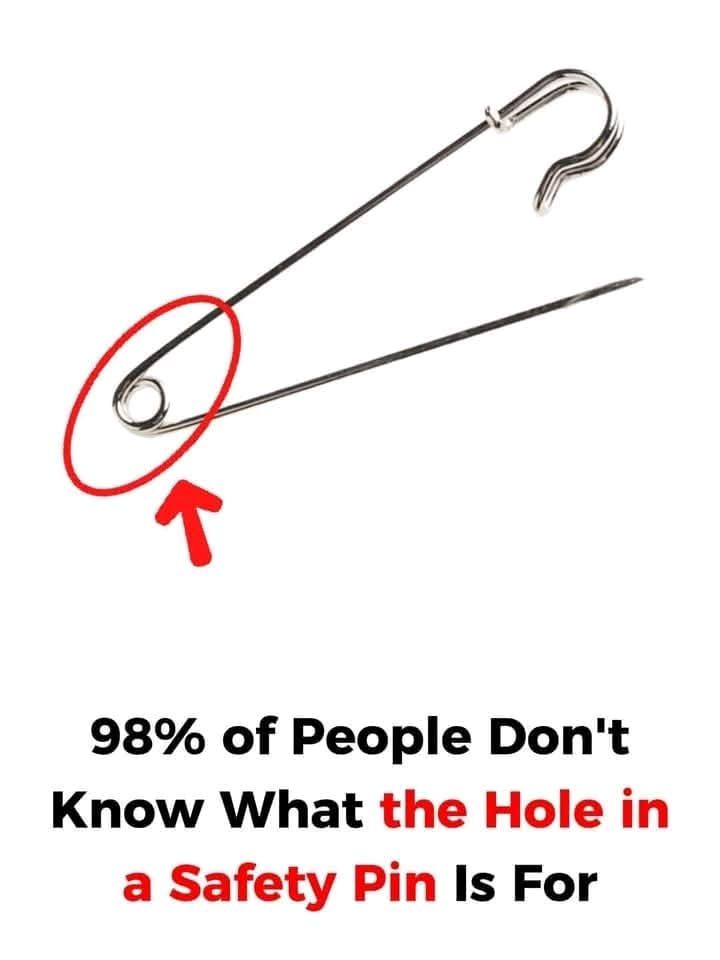
Repurpose the Hole in a Safety Pin
That tiny hole at the end of a safety pin is far more useful than it looks. Thread a piece of string or narrow cord through it before inserting the pin into a fabric casing. This gives you greater control when feeding elastic or ribbon through waistbands, sleeves, or drawstrings. It also prevents the pin from slipping inside the fabric, saving time and frustration.
Bringing these timeless techniques into your sewing routine reconnects you with generations of makers who solved problems with creativity and resourcefulness. Whether you are brand new to sewing or have years of experience, these simple habits will help you work more smoothly, more confidently, and with better results. Traditional knowledge remains powerful for a reason, and when paired with modern tools, it can truly transform the way you sew.